 |
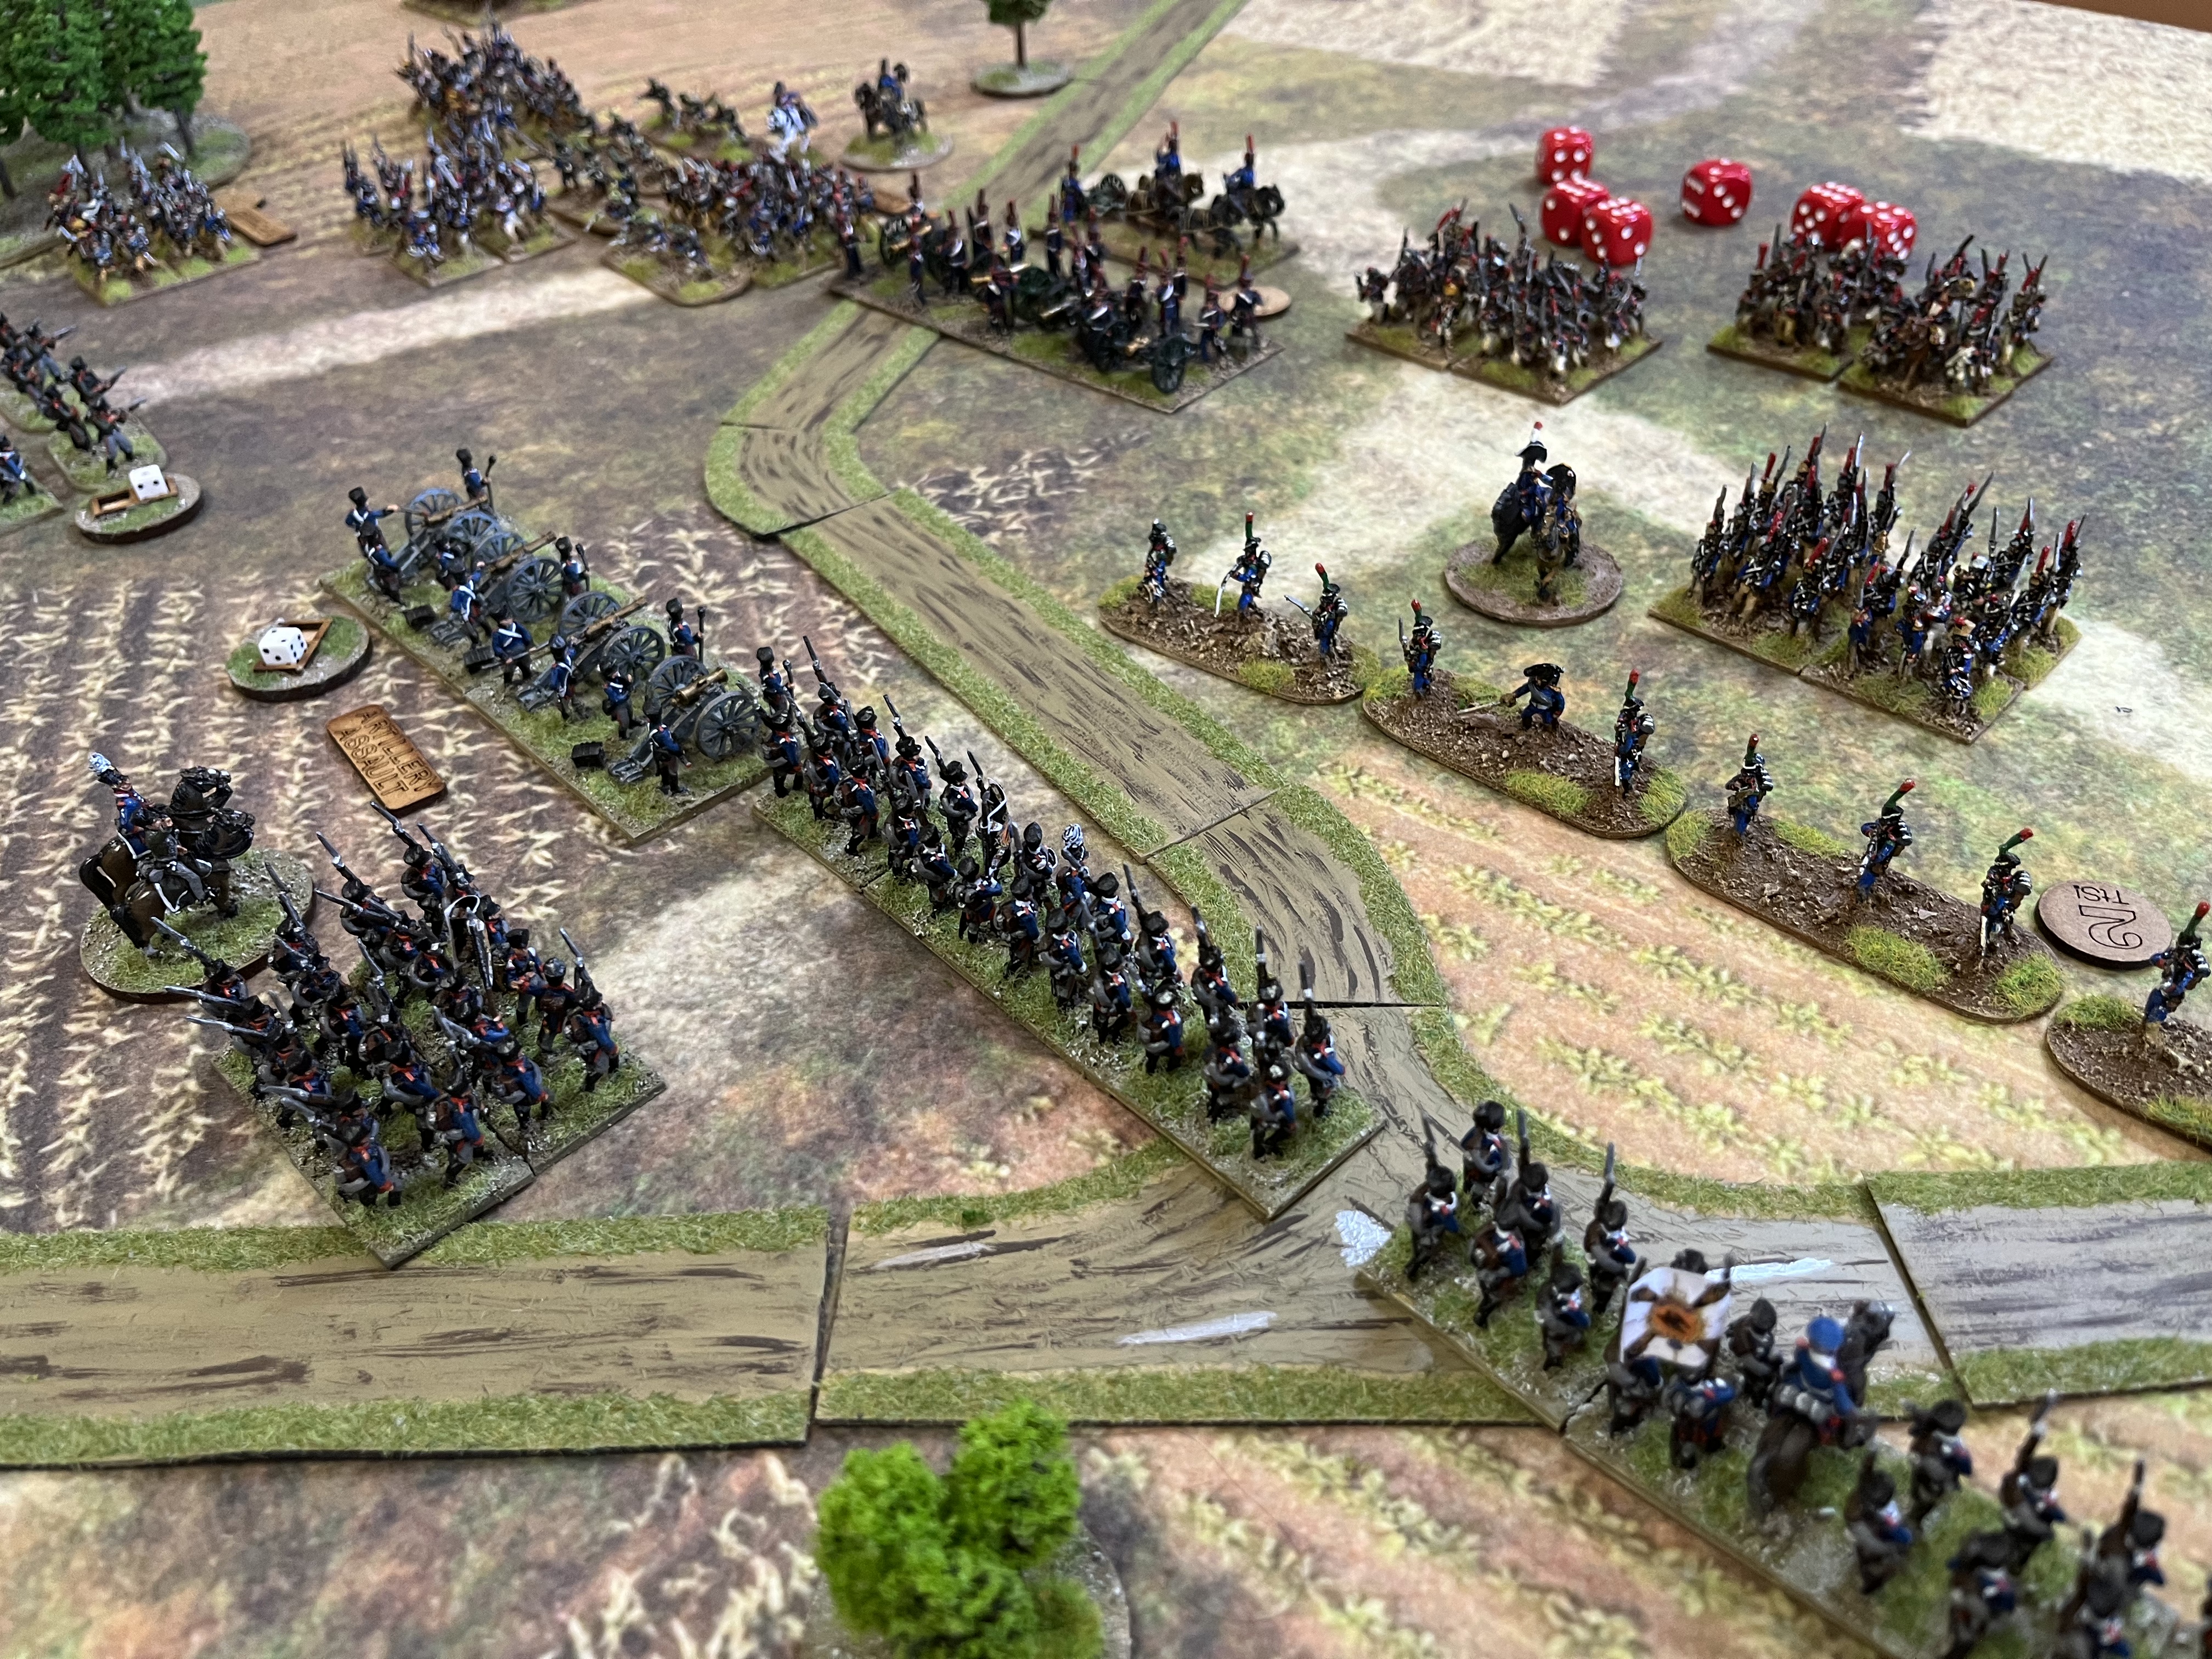
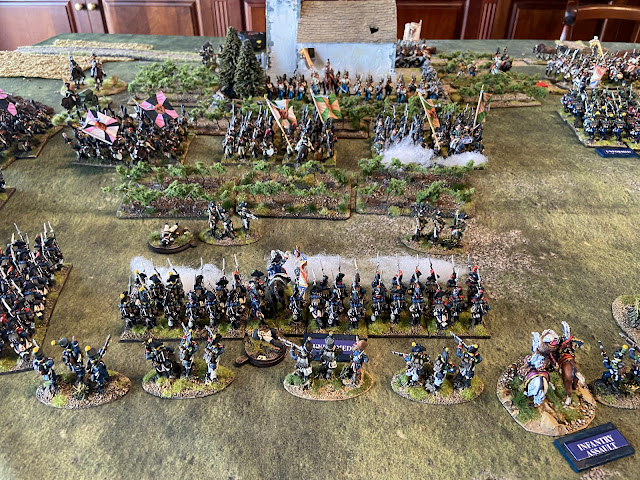
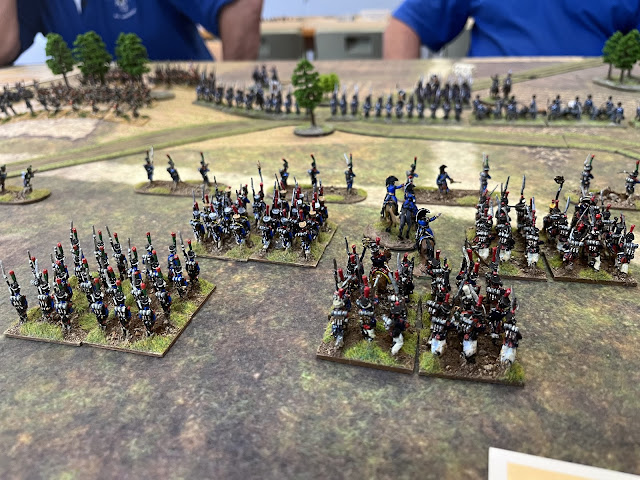
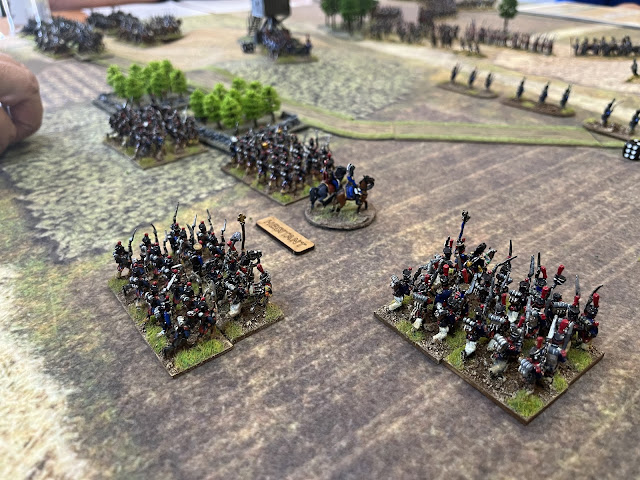
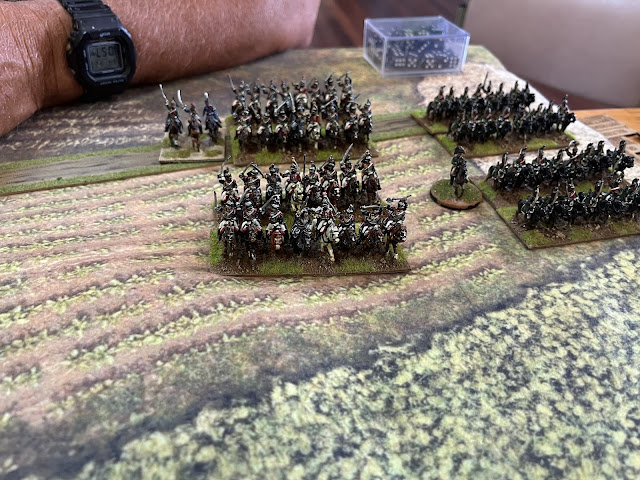
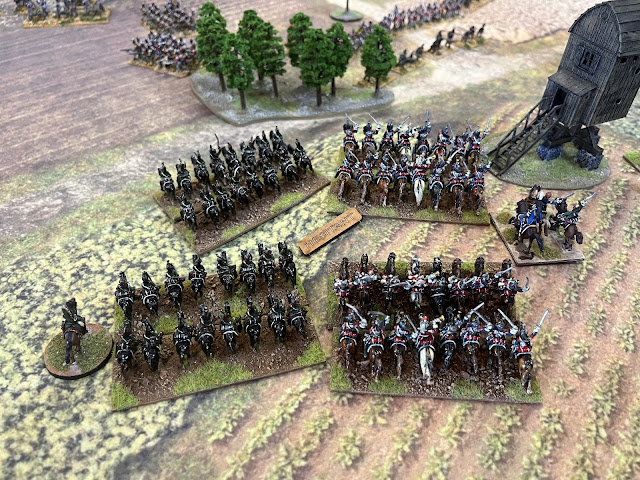
Nothing like a brigade of Lancers on the flank with some Guard Horse artillery
masquerading as line horse. The coffee is for the early Saturday morning start |
If you’re a frequent visitor to this blog you’d have noticed that we’ve been playing a heck of a lot of Napoleonic games in 15/18mm lately as part of a play testing team for the wonderful General D’Armee 2 Edition due out around April this year. As a group we have been playing GdA for a very long time, mainly in 28mm at the club on a weekend or at my place. However we wanted to play more frequently, which also coincided with Dave Brown inviting us to help test out his new rules.
Combined with older Wargamers not wanting to haul many boxes downstairs to the club on a weeknight saw many of acquire some smaller scale collections for “ training” nights.
 |
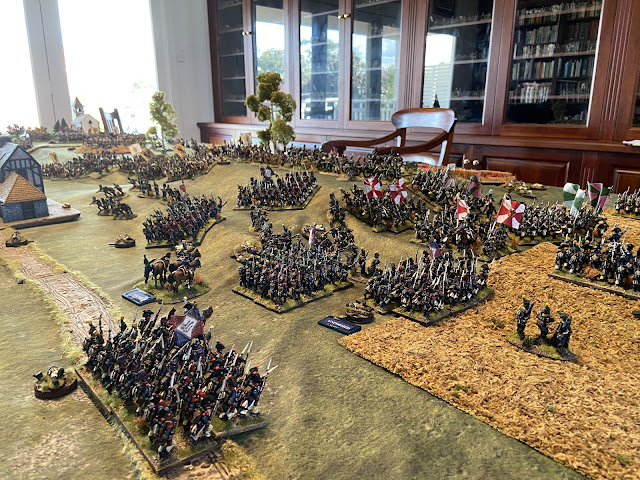
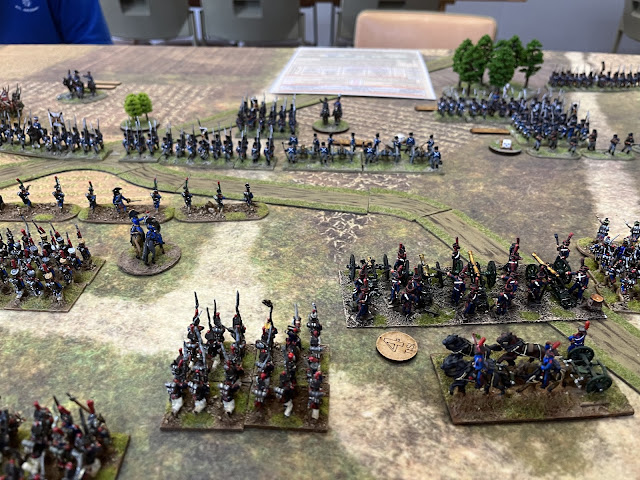
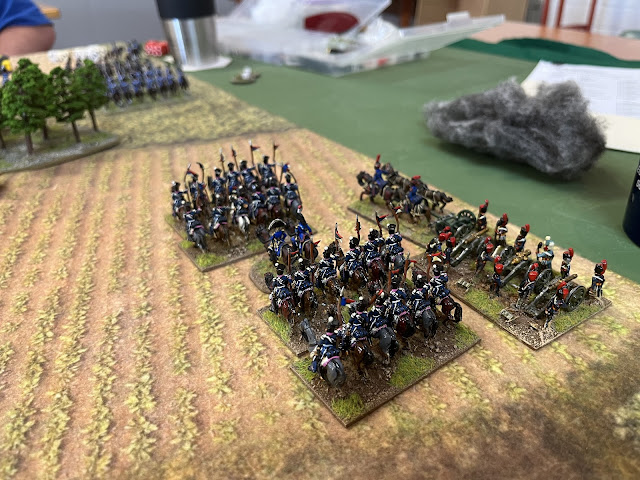
| A shot of a 28mm game at my place a while back |
 |
| Too much lead to haul down for a three hour game at the NWS these days. |
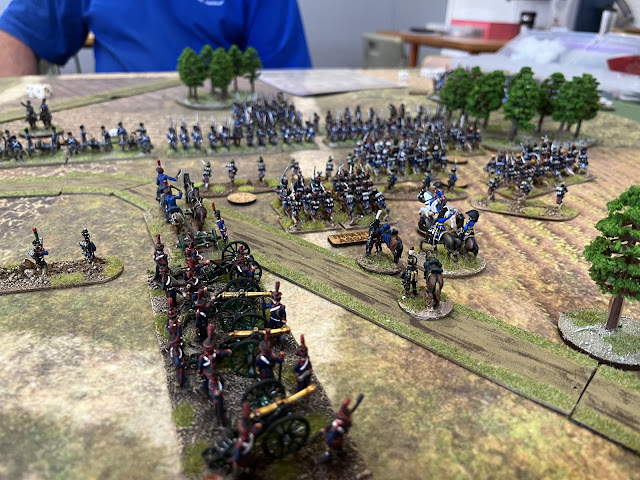
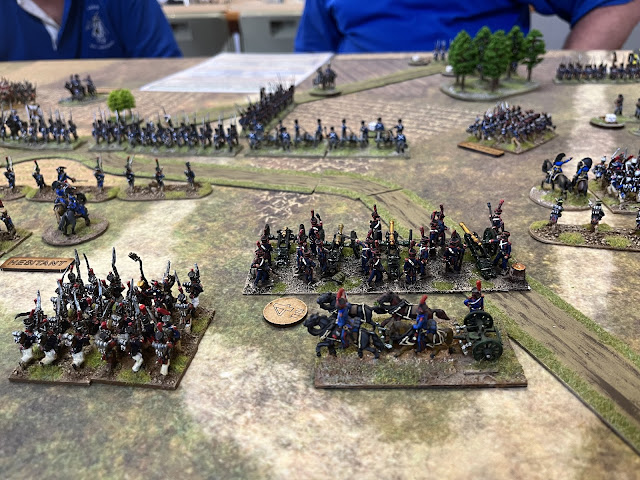
On this occasion it was going to be a gaming Saturday where we could play out an 1815 battle with Steve and Martin’s Anglo-Prussian alliance against Richard and I. On this occasion I’d be playing a leading two Young Guard brigades for something a little bit different. Richard would be commanding one line brigade as well as two brigades of Cuirassiers and a Dragoons. I also had a light cavalry brigade.
 |
The lay of the land with Steve deciding discretion was the better part of valour in only his
second game of General D’Armee ever. Wise lad our Steve. |
The command of Steve and Martin consisted of a large Prussian brigade of line, a cavalry brigade comprising one regiment each of Hussars and Dragoons plus a battery of nasty guns.
Steve put out a very sturdy brigade of Veteran Highlanders and other British line, another line brigade as well as a cavalry brigade of British Light Dragoons and a RHA battery. Steve also had another British RA battery.
 |
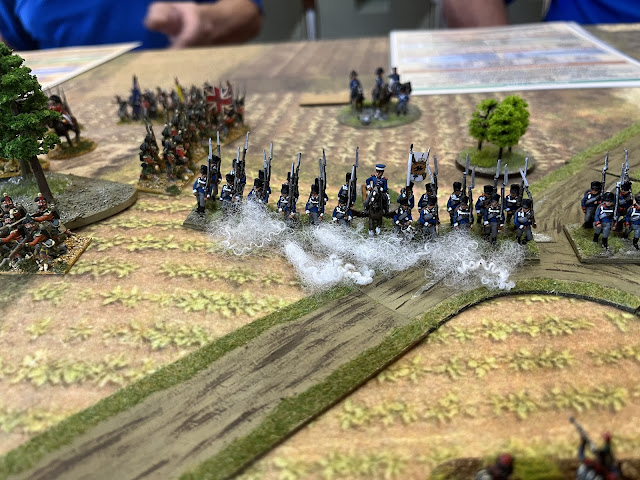
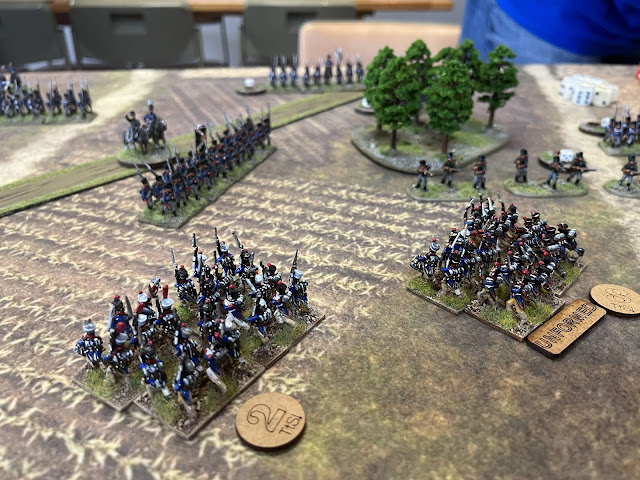
| We think those are British line as they are a long way away from our skirmishers |
General D’Armee 2 has both a Divisional and a Corps variant to the command structure which makes for a very interesting set of available new commands. To quote directly from Dave’s forum post at Too Fat Lardies:
1. Command & Control.
"The marshal, indignant at the hesitation of the general, sent me to tell him to carry the position at the charge!" ADC Levavasseur, Waterloo 1815. (Or perhaps a game of General d'Armee using a Brigade Attachment ADC tasking!)
The ADC system remains at the heart of the command and control system in General d'Armee; this has been updated and augmented with what are termed C-in-C commands.
These commands represent the C-in-C personally intervening in the battle to lead his troops or steady his men, and as such are limited to either two or just one opportunity per game, depending on the C-in-Cs ability. These include rallying a faltering brigade or leading a charge from the front rank akin to Marshal Ney! The player chooses when to use these vital interventions but as in the words of one film general, should "take careful timing" as to when he chooses to ride out and personally intervene, as these actions can have a significant impact upon the outcome of the battle.
ADCs remain very much as before but have been slightly expanded to provide greater command choices in the game, such as an opportunity to influence the initiative. Ammunition resupply is no longer a tasking and is replaced with actual model caissons that represent ammunition resupply.
Initiative now has an added twist. The winner of the Initiative may now remove one hesitant marker from any currently hesitant brigade but then must immediately pass the Initiative for this turn over to the opponent! This can provide quite a command dilemma as the player will gain a localised advantage on one side but be on the back foot for this turn across the division, on the other.
Finally there are expanded rules on Corps commands and how to play corps sized battles with multiple divisions.
 |
| French Middle Guard doubling as line |
 |
| French Young Guard |
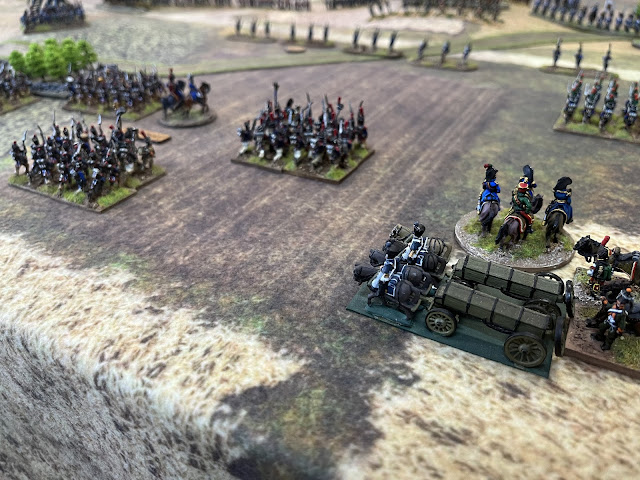 |
Caissons play a part in the these rules for resumption, artillery assault etc. Alway great
and best to have a legitimate gaming use for so much beautiful paraphernalia |
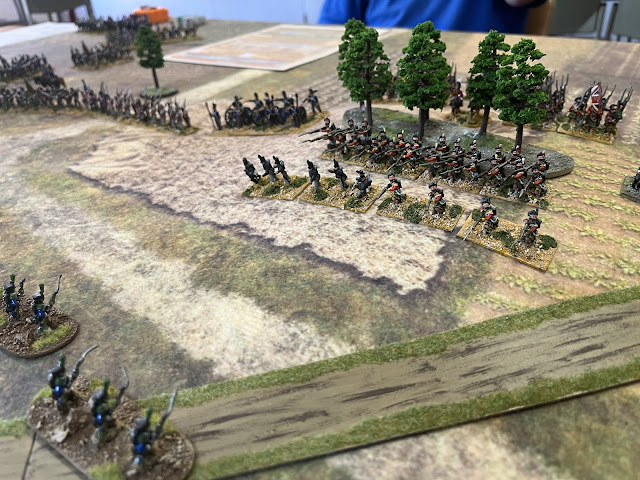 |
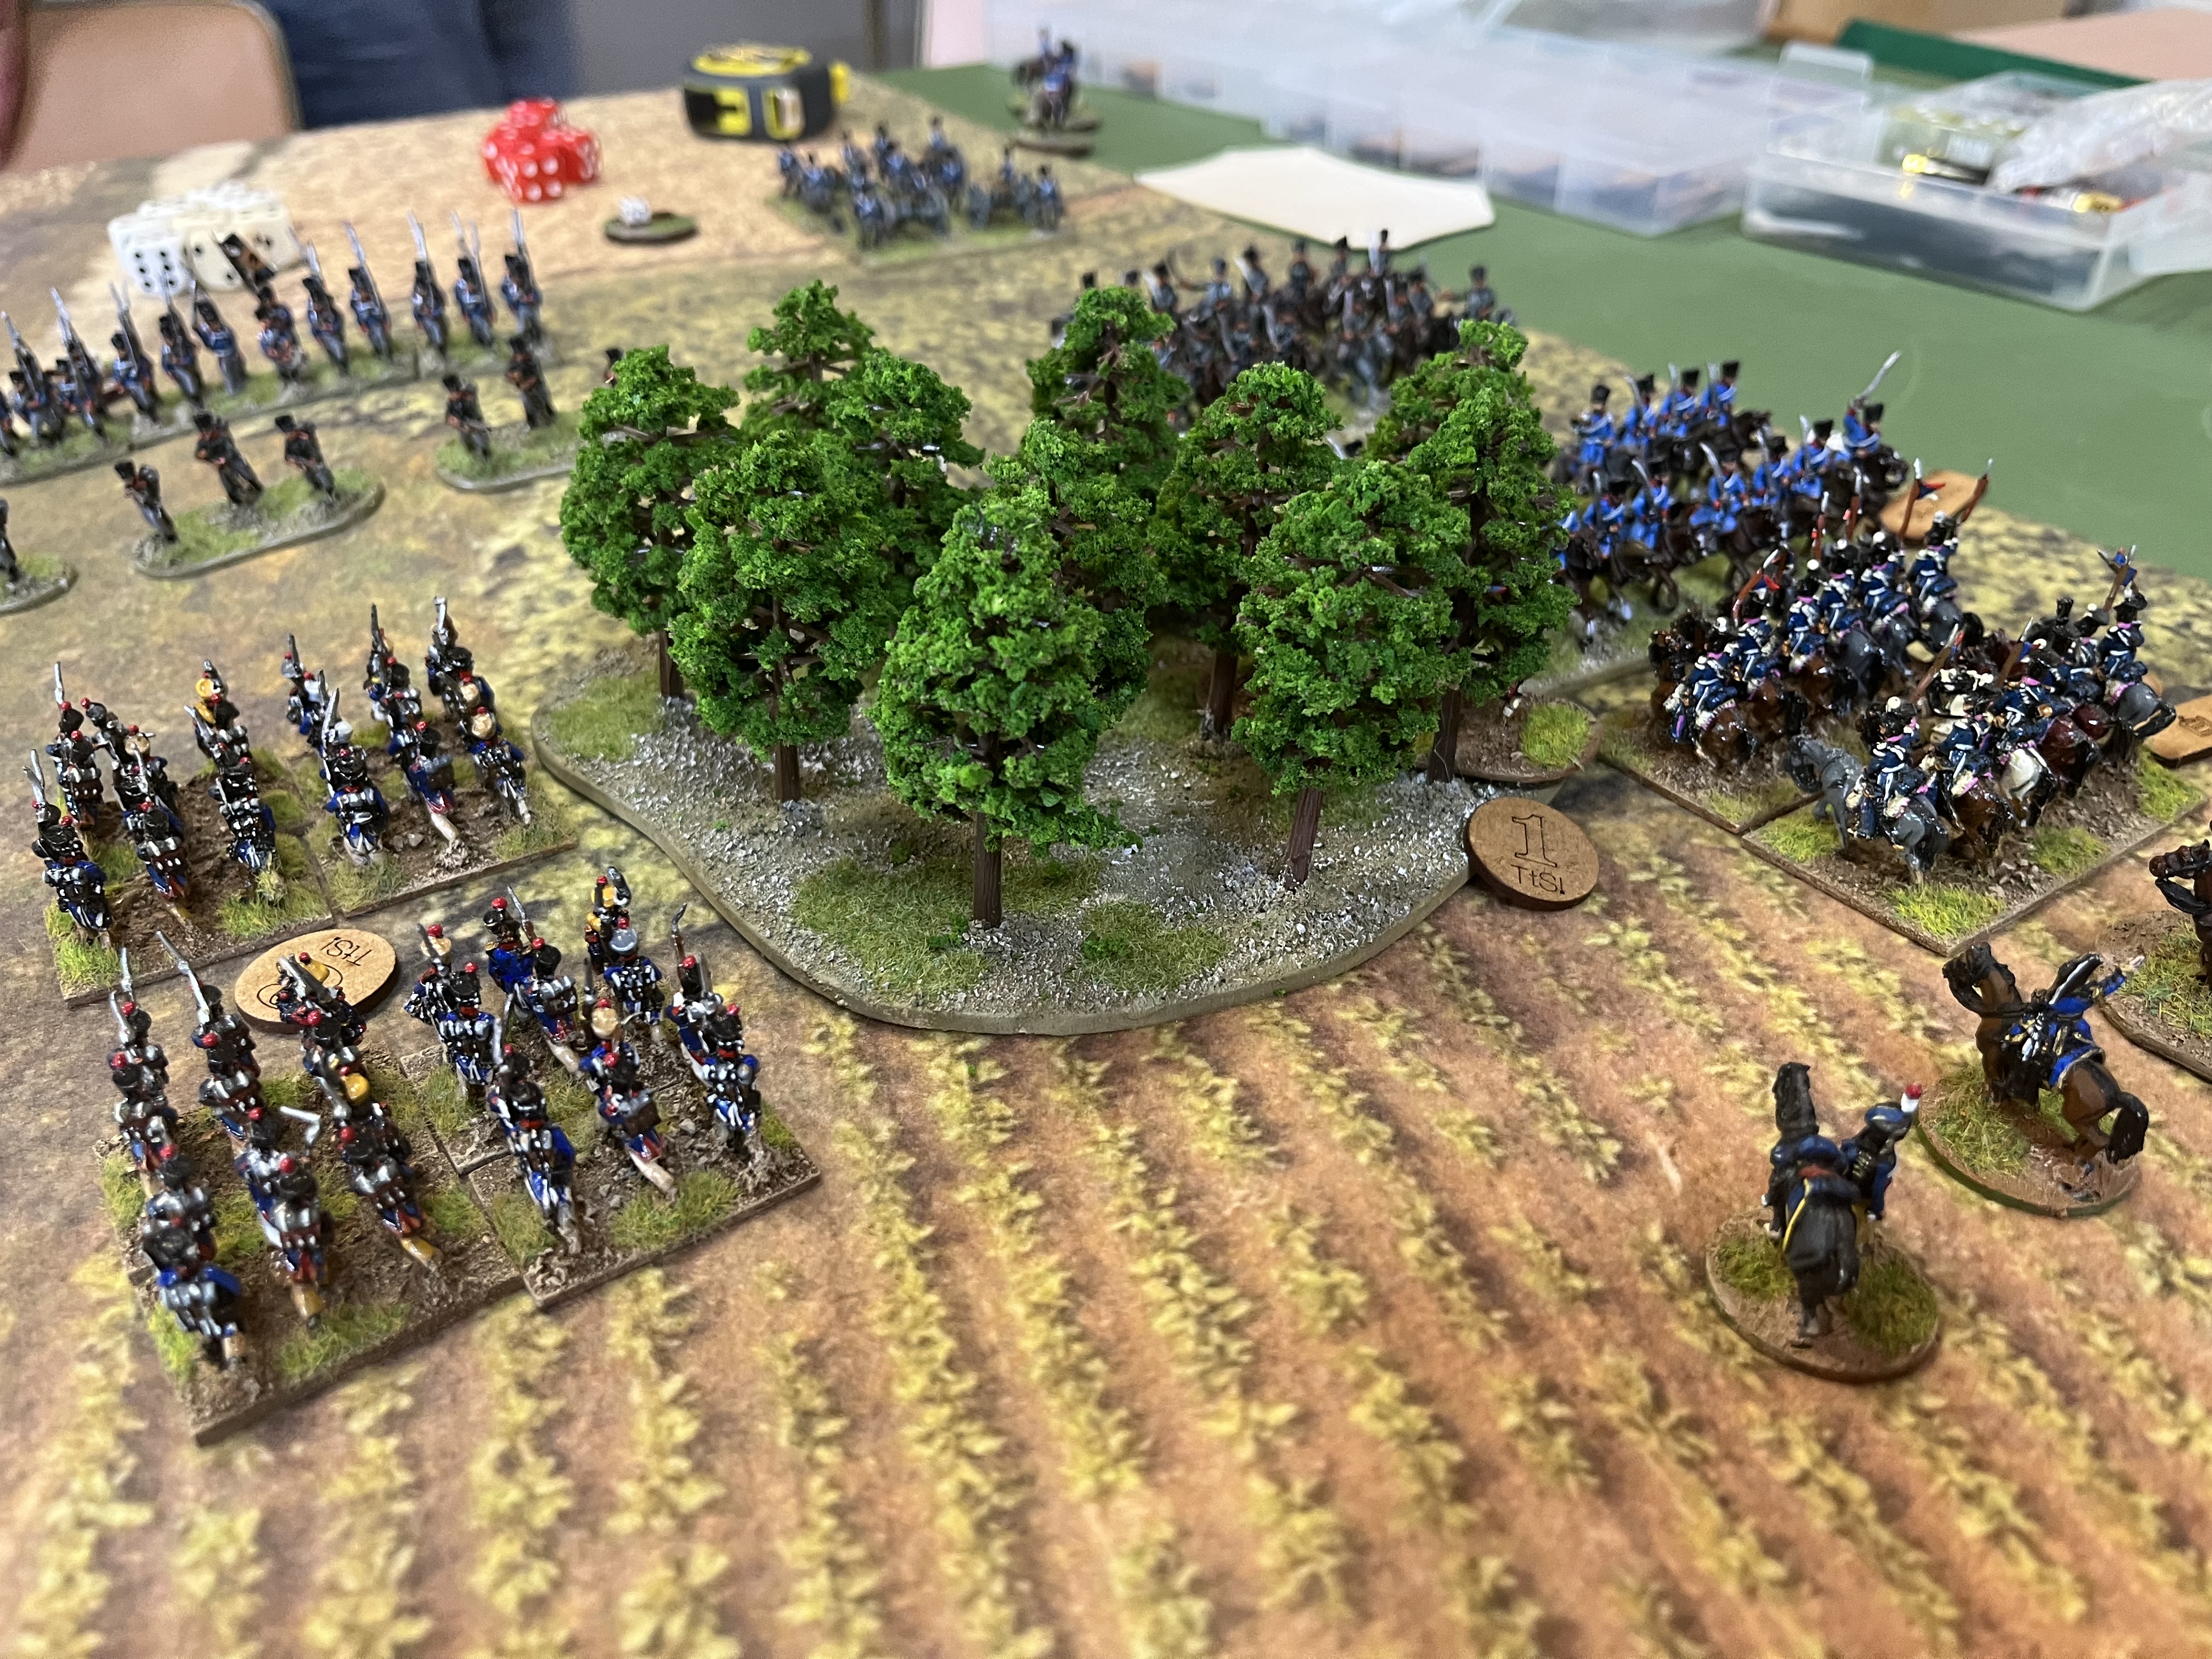
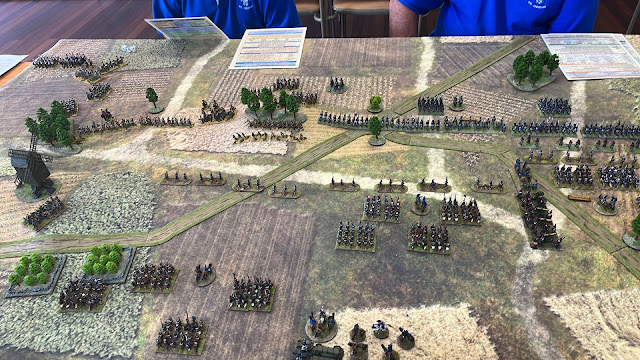
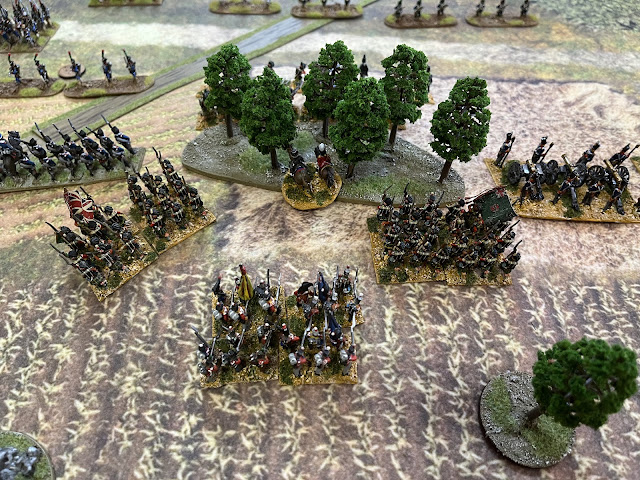
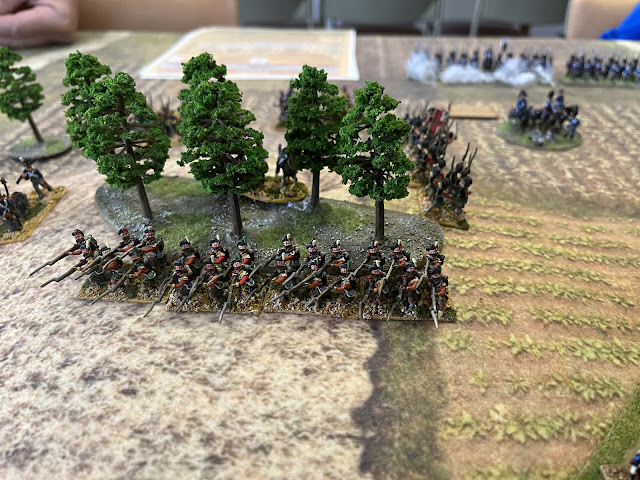
| A formidable looking defensive position on the ridge |
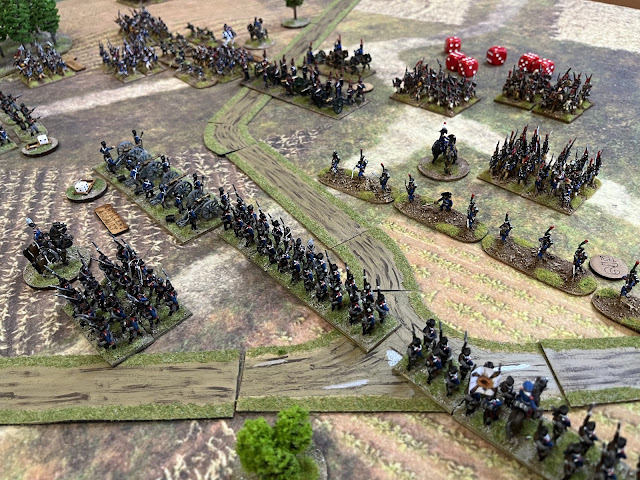
So we decided the scenario and set the junction of the roads as the tactical objective for the game. If the French could claim it, the road to Brussels, or at least a few good ale houses on the way, would be opened up. The rules now introduce a subtle, simple yet refined scouting and deployment pre- battle process which I think is very, very good. It allows the attackers to attempt to identify and spot up to three enemy brigades deployed up to halfway across the table. The attacker then deploys and the defender completes laying out his forces after that.
 |
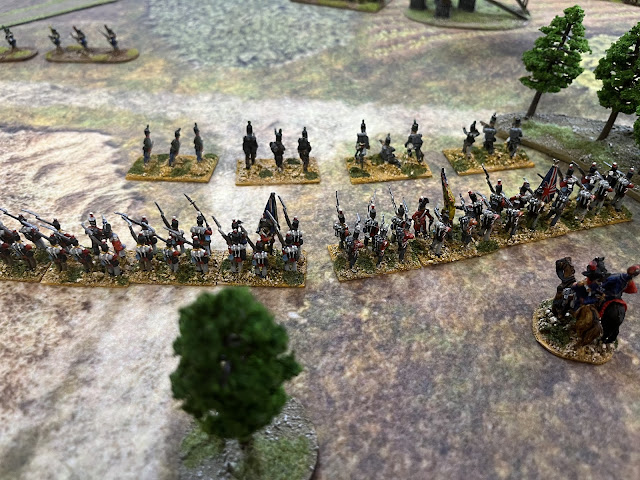
| The French Young Guard on “Forwards” order attempt to close with the Prussian line |
 |
| Richards lads, having noticed the red coats up stead, are a bit recalcitrant on their orders to advance |
 |
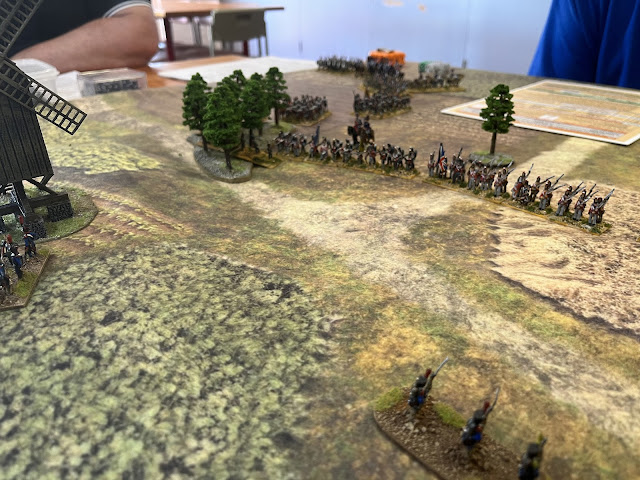
| A nice defensive line but devoid of reserves at this point |
 |
| Lovely looking figures of Steve’s. |
 |
| Martin has done a sterling job in painting up his Prussians. All AB and quite superb |
 |
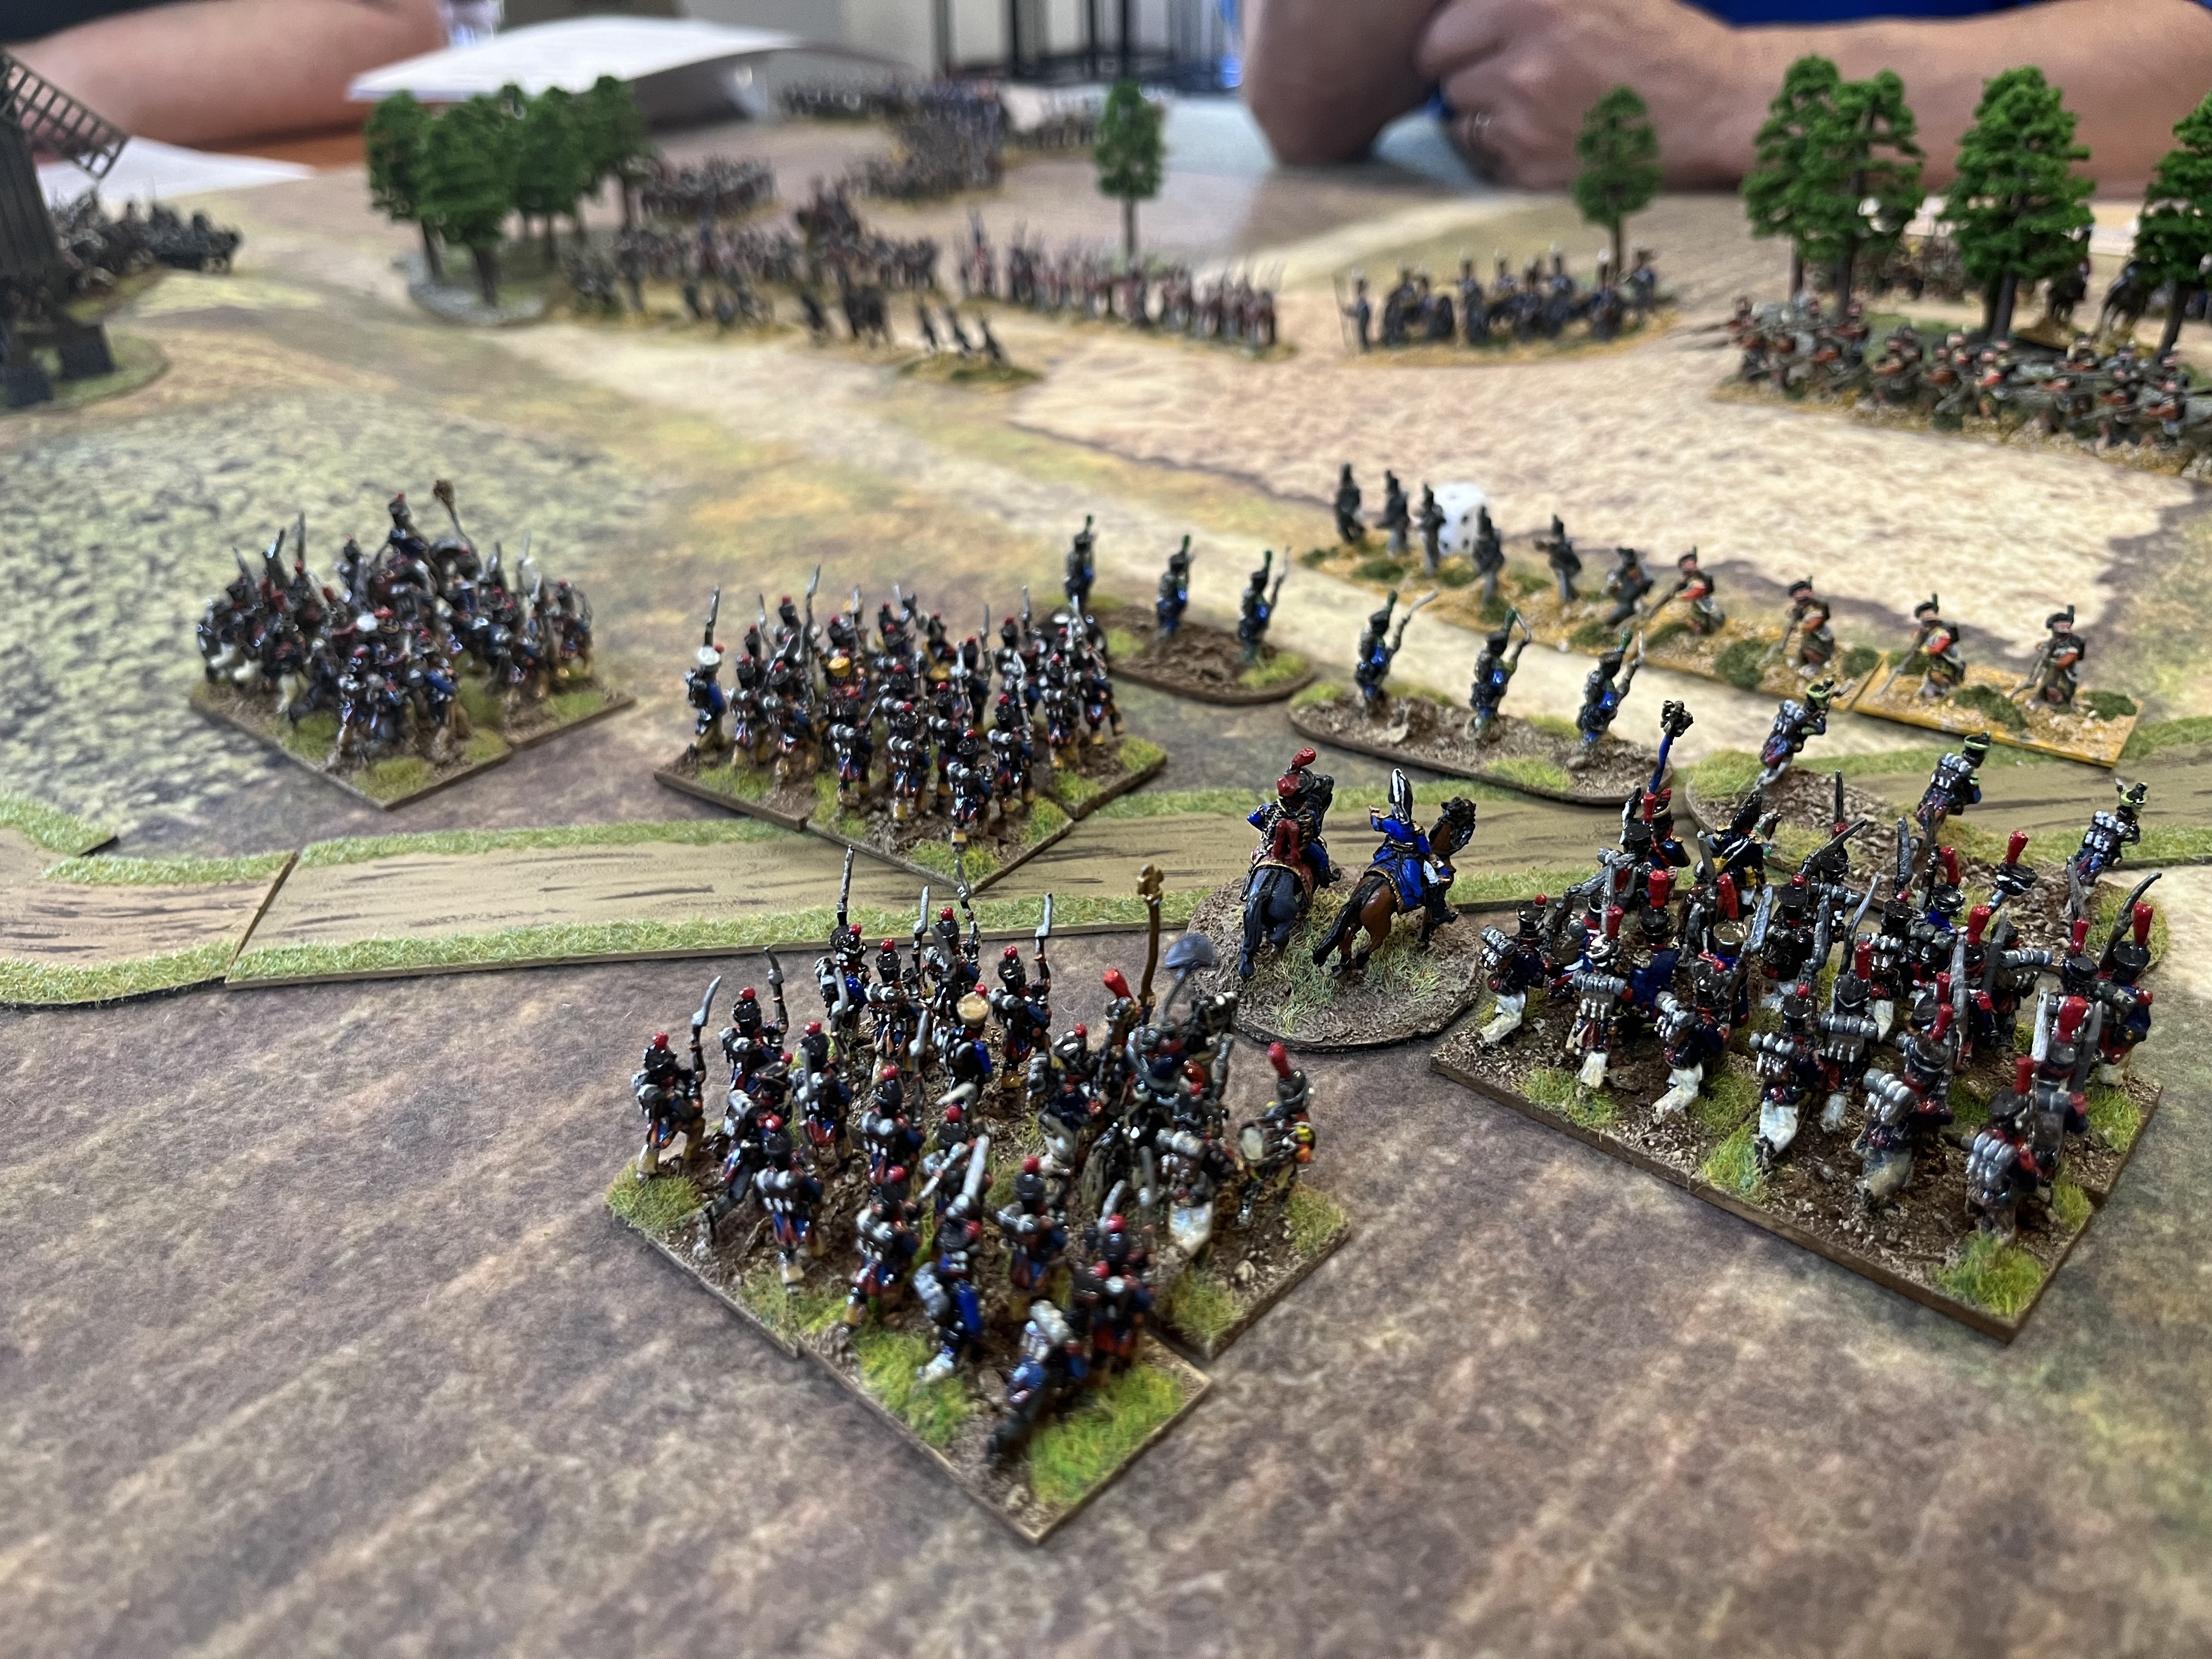
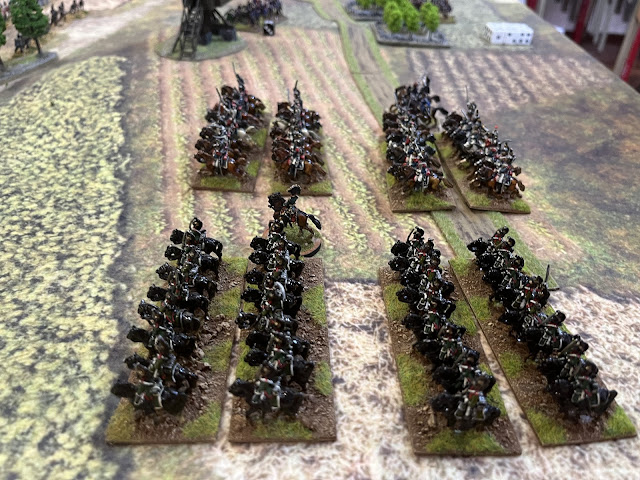
| Cuirassiers at the ready |
 |
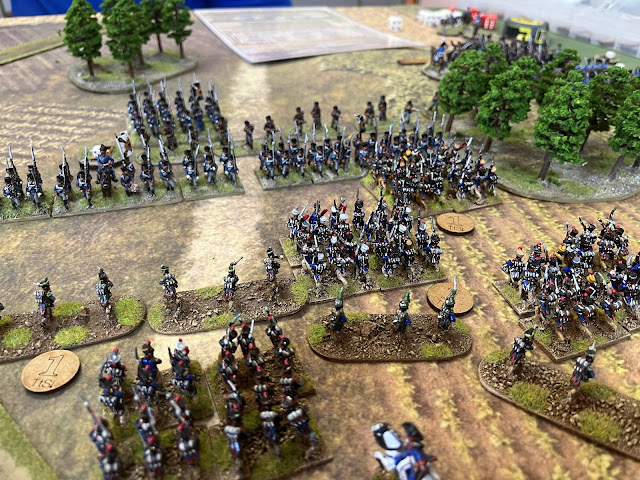
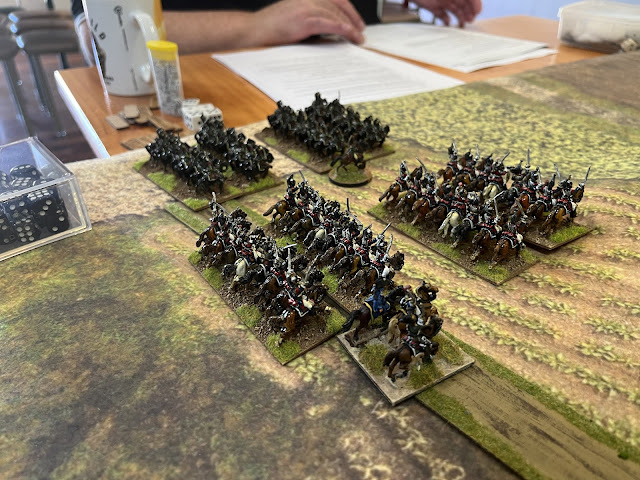
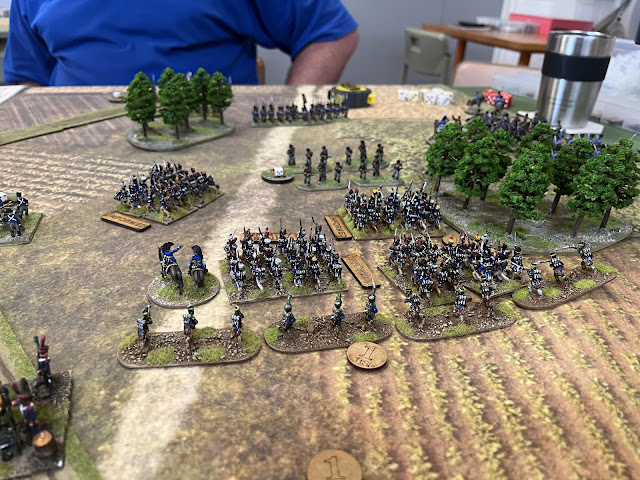
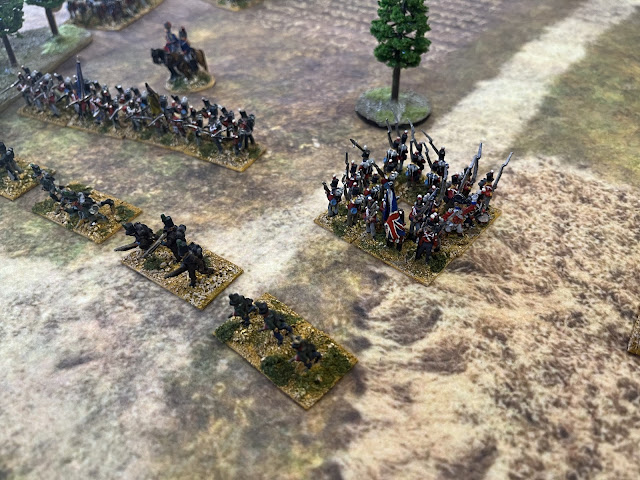
| Richards Heavy Cavalry Division |
 |
At what point do you think I might have worked out to take a gun off, put it on “THE LIMBER”
and use this as, let’s say, a limbered battery???? |
 |
| The Prussians prepare themselves for the assault to come |
Once again directly from the forum, David very concisely summarises the thought process on movement and charges in GdA.
Charges.
″Pakenham, you will carry that height where the enemy's left is posted by storm and when you have gained it, go at them hard and fast with the bayonet!″ Wellington, Salamanca, 1812.
Charges in General d'Armee were straight forward however it is appreciated that they could be quite involved and take up valuable battle time when there were numerous charges launched in a single turn.
So, two significant changes have been applied to the charge procedure. The first change involves the actual charge rule mechanics and creates a faster, more intuitive and slicker charge process yet keeps all the nuances inherent in the first edition. This means the amount of text devoted to charge rules has been reduced considerably and the entire charge process is now much quicker.
The second and slightly more radical change in the 2nd Edition is that players are now limited to one charge per brigade. You can no longer launch multiple charges from one brigade, akin to a firework, shooting off charges in all directions. There are several reasons for this.
First I could not find a single historical example of a brigade launching multiple charges at different targets all at the same time. Yes, charges were supported by additional units, but I've yet to read of any account where a brigadier ordered multiple charges in different directions against different targets. It appears to have been beyond the command scope of the officers commanding a brigade and for good reasons.
One reason may well have been that infantry brigades regularly deployed with a regulating battalion, which meant all battalions took their direction and alignment from this one battalion. If this were so, how does one launch a charge when the regulating battalion is charging off in another direction?
Finally by imposing a one charge one target rule we neatly avoid that old wargame bugbear of numerous columns ganging up in melee against a single line. So under the 2nd Edition it's now one charge against one target but of course this charge can be supported by the usual flank and rear supports. The balance to this change is that defending supporting units may either fire or support when defending a charge, not both as before. So the defending player needs to think carefully about firing with supports as this will denude his support rerolls in the actual charge.
Movement.
Few changes have been applied to the movement and terrain rules. The main highlight is that the charge bonus is now only gained via ADC taskings, which includes using the full Forwards movement bonus for charges as well as normal movement.
 |
| British RHA all dressed up with no one to blow up |
 |
The Prussian brigade skirmish screen inflict some damage however the charge result sees
the regiment pushed back through their colleagues, informing both |
 |
| Another view of those excellent cuirassiers |
 |
| The British view behind the ridge and copse of trees |
 |
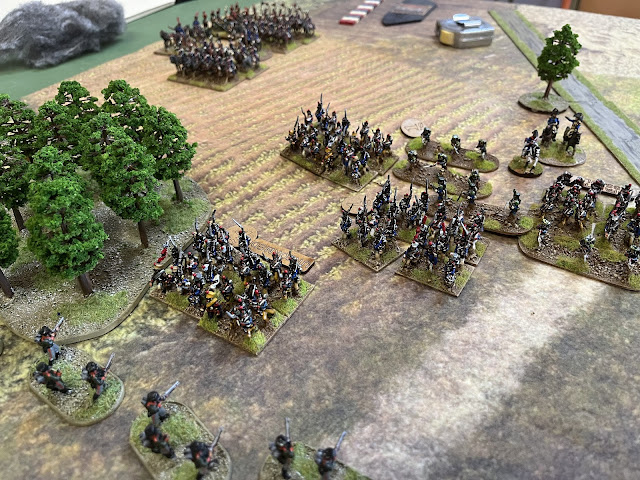
| The second Young Guard brigade pushes on |
 |
Now they look pretty nasty. British line are “Drilled” which gives them an additional
Casualty Dice to roll when firing. |
 |
| The advance on the French right continues with a good pace |
 |
| A bit of pressure coming to bear from the second Young Guard brigade as well |
 |
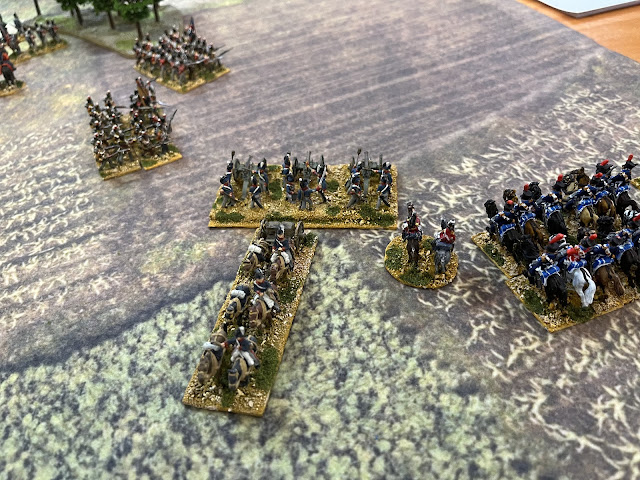
Ricgard was so tempted to launch these at the British lines a few times and I
actively encouraged him to give it a crack. He stood firm and looked for greener grass. |
 |
| Very quietly on the extreme right flank of the French, the Lancers sense opportunity |
 |
| This French battery has been roughly handled by their Prussian counterparts and is in serious strife |
 |
| Fire discipline lost for these chaps |
 |
| The Prussian guns have been charged, defeated and dispersed |
 |
| A bit out of order ( thanks blogger) |
 |
| What a time for the Brigadier to be away from the front lines - Hesitant! |
 |
| A nice shot of Richards brigade about to get mental! |
The battle raged on with our understanding of the rules become crystallised with every turn. The aim from Dave and Reisswitz Press of simplicity within the calculation tables and allowing the tactics and feel of a Napoleonic wargame to take hold are very much achieved.
Some more changes in the skirmish phase has allowed skirmishers yo maintain their importance on the field without seeming to be armed with breechloaders.
Skirmishers.
"The tirailleurs of the 17th Legere, dispersed among the trees and bushes, undulating terrain and garden walls...slipped along the brook and suddenly opened fire." Capt. Bressonnet, 1806.
The main skirmishing rules have been overhauled. The size of a brigade skirmish screen is now based on the general size of a brigade and not linked to every battalion.
Skirmishers are now permitted to move even if a brigade is hesitant.
Skirmishers now fire with Skirmishers Casualty Dice, which hit on scores of 4 or more, bringing their firing in line with all casualty dice, the down side being that skirmishers require two "hits" to cause one casualty, as opposed to the standard one hit equals one casualty rule. Thus heavy casualties from skirmishers is unlikely unless a tasking is in play, while merely wearing down an opponent more likely.
Infantry & Artillery Firing.
"It was the first time the noise of an English fusillade had reached our ears....never had we heard a rolling fire as well fed as that." Lt. Girod, 9th Legere, Talavera, 1809.
There are now no lists of positive and negative modifiers. This has been replaced with a slicker system where fire benefits, such as Elite and Veteran volleys or firing at a column or square target receive extra Casualty Dice; while fire negatives, such as unformed or firing at skirmishers moves your volley down the volley chart. So, if a battalion in line has no negatives this means you fire on the Standard Volley line, one negative modifier such as firing unformed moves the unit down to the Inferior Volley line. Two or more modifiers sees the unit fire with just 1 casualty dice, this is the lowest a volleying unit can go.
Columns and squares fire with just one casualty dice to reflect the fact they are manoeuvre or defensive formations and not firing formations.
Artillery has undergone similar treatment.
This means that firing is far quicker but produces similar results to the first edition.
The 2nd Edition retains the "casualty chart" as opposed to introducing a "handful of dice" fire mechanism, as the chart conveys four pieces of vital information to the player. These are; casualties, fire discipline, discipline tests and Destiny results. Also add a fifth, Low on Ammunition for artillery. Presenting all this information in a logical and consistent manner cannot be done when rolling handfuls of dice.
Combat.
This system is essentially the same, but we now have greater chance of prolonged cavalry melees, allowing supporting regiments to be fed into the melee. This makes cavalry melee more interesting and cavalry supports more important. And, as Hesitant regiments cannot reinforce this means that ensuring that your cavalry brigades are obeying orders becomes an important command element for the player.
 |
| The chaps who’ve dispatched the artillery now look for other enemy |
 |
| On the Allied right flank a cautious Steve watches on |
 |
| In the rear a Highland battalion changes facing preparing for the French sweep |
 |
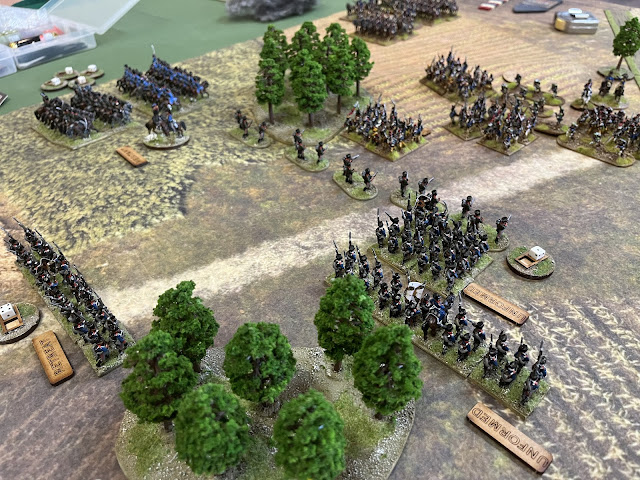
On the right the cavalry have finally come to grips. The French would better their Prussian
counterparts and further strengthen their position on the field |
 |
| The road junction is taken |
 |
| Richard’s lads fought well and took the ridge. I just didn’t take a photo! |
 |
| Those CigarBox Mats do look good |
In the end it was viewed as a French victory. The British were a bit too cautious however that was perfectly understood on the basis that steve is still a somewhat novice in Napoleonics and the rules. The Prussian General Martin fought very well but numbers overtook his position in the end.
It was another tremendous game with great friends. We have two more games organised for this Wednesday night side by side so we are certainly giving the rules a hood work out as requested.